以 FakeIP 分流为基石的科学上网方案

以 FakeIP 分流为基石的科学上网方案
Tom本文介绍 sing-box(或 mihomo)搭配 mosdns 的 fakeip 方案,实现全家设备透明代理和国内外精确分流
[TOC]
一、基础知识
此方案的分流策略是 DNS 分流(域名分流)。本文从实际操作方面做简略介绍,详细进阶知识请参考 skk 大佬的博客。
DNS 解析基本原理
- 在浏览器输入
www.google.com后,浏览器需要知道其 IP 地址才能建立连接 - 操作系统向本地 DNS 服务器(如 mosdns)发起解析请求
- mosdns 返回
www.google.com的 IP(如172.217.31.132) - 浏览器向该 IP 发起请求并建立连接
传统 CNIP 分流法
在主路由中添加中国 IP 列表:
- IP 不属于 CN 列表 → 流量导向代理软件
- IP 属于 CN 列表 → 通过主路由 WAN 口直连
二、FakeIP 分流的流量走向
工作原理
FakeIP 分流法在 DNS 解析阶段 将 Google 等国外域名解析为不存在于公网的虚假 IP,常用网段:
198.18.0.0/1828.0.0.0/8
完整流量路径
1 | 浏览器访问 google |
主路由配置
仅需 1 条规则:将 fakeip 段导入代理程序。
RouterOS 用户可通过 mangle 或 route 方式实现,详细参考:RouterOS 使用 FakeIP
三、方案拓扑结构
整体架构
本方案属于 旁路网关 架构:
1 | 光猫(桥接) |
技术过硬的同学可将 sing-box 和 mosdns 部署于同一虚拟机,博主为求稳分开部署。
主路由选择
支持静态路由的系统均可使用:
- RouterOS
- OPNsense
- VyOS
- iKuai
- OpenWrt
- 部分硬路由
部署灵活性
sing-box 和 mosdns 可部署于:
- PVE 的 LXC 容器
- Debian/Ubuntu/Alpine 虚拟机
- OpenWrt 裸核(如 PH 大佬的方案)
- RouterOS 容器(不推荐,性能差)
初次接触建议一个程序一个 VM,熟悉后再自由搭配。
网络配置表
| 项目 | RouterOS | sing-box | mosdns | 需科学的设备 | 不科学的设备 |
|---|---|---|---|---|---|
| IP | 10.0.0.1/24 | 10.0.0.2/24 | 10.0.0.3/24 | 任意 | 任意 |
| 网关 | 拨号 | 10.0.0.1 | 10.0.0.1 | 10.0.0.1 | 10.0.0.1 |
| DNS | 运营商 DNS | 10.0.0.3 | 10.0.0.3 | 10.0.0.3 | 10.0.0.1 或 223.5.5.5 |
方案优势
- 国内流量直连:所有设备网关为主路由,国内流量不经过旁路
- 旁路故障不影响国内:旁路挂掉时国内访问正常
- 仅代理流量走旁路:只有 fakeip、TG、奈飞等少数 IP 进入旁路
- P2P 流量天然直连:PT/BT 下载不消耗机场/VPS 流量
注意:如 qb/tr 等程序的 DNS 设置为 mosdns,需将 tracker 服务器域名加入 mosdns 白名单,避免通过代理访问 tracker。
四、安装并运行 sing-box 和 mosdns
(一)自动挡用户
1. 脚本部署 sing-box
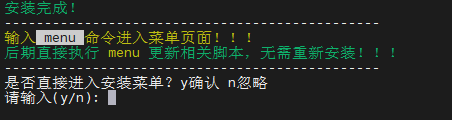
步骤 1: 新建 Debian 或 Ubuntu 虚拟机,运行安装脚本
脚本在 GitHub,虚拟机需具备科学上网能力
1 | wget https://raw.githubusercontent.com/herozmy/StoreHouse/refs/heads/latest/install.sh && bash install.sh |
步骤 2: 输入 y 确认
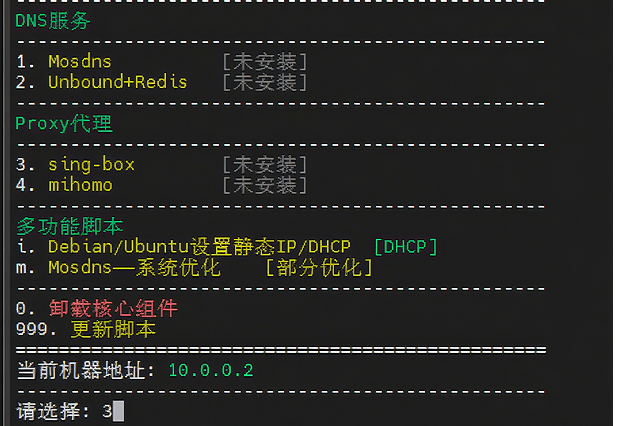
步骤 3: 输入 3 安装 sing-box
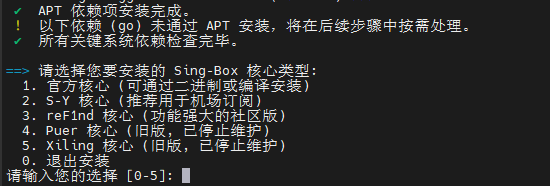
步骤 4: 选择核心版本
- VPS 用户:选择
1.官方核心 - 机场用户:选择
3.reF1nd 核心
步骤 5: 输入 y 确认,粘贴订阅链接

步骤 6: 回车确认
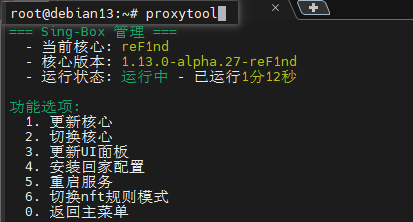
步骤 7: 安装成功后,输入 proxytool 管理服务

步骤 8: 打开 UI 面板
访问提示的地址,输入 sing-box 所在 VM 的 IP 地址即可打开 UI 面板。
脚本也可安装 mihomo 裸核,自行探索。
2. 脚本部署 mosdns
PH 大佬最近更新了几个大版本,herozmy 的脚本可能不兼容。有动手能力建议手动部署(见后文)。
步骤 1: 新建 Debian 或 Ubuntu 虚拟机,运行安装脚本
1 | wget https://raw.githubusercontent.com/herozmy/StoreHouse/refs/heads/latest/install.sh && bash install.sh |
步骤 2: 输入 y 确认,然后输入 1
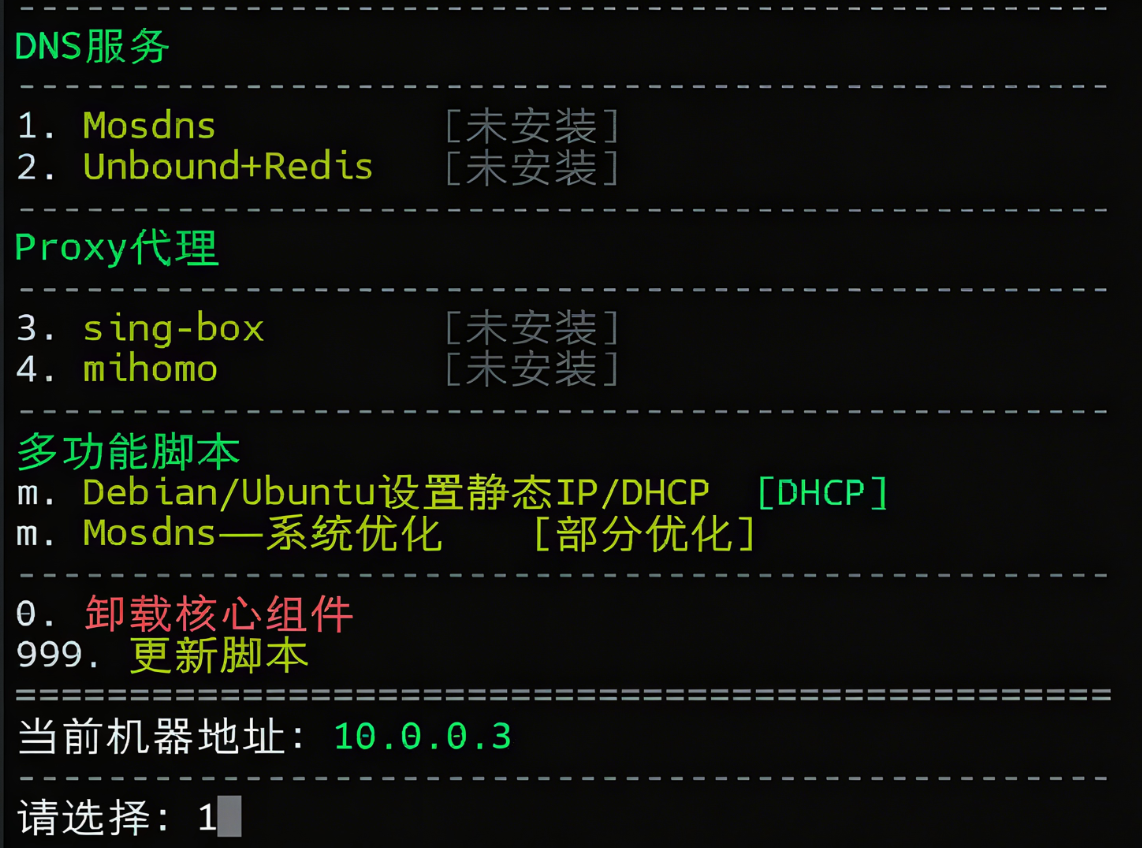
步骤 3: 按提示输入以下信息:
- sing-box 的
IP:6666(如使用上述脚本创建的 sing-box,端口填 6666) - 运营商下发的 DNS(可填 114 等,运营商 DNS 理论上最快)
- 输入
999使用 PH 大佬维护的 mosdns(自带 UI)
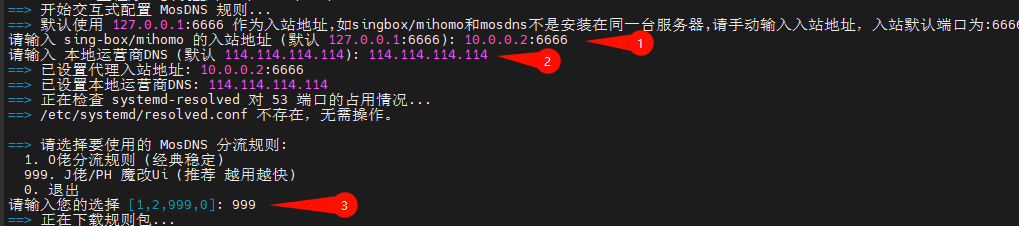
步骤 4: 输入 n(不注释 socks5 代理)→ y(更改 socks5 代理)→ 输入 sing-box 的 socks5 入站端口(如 7891)
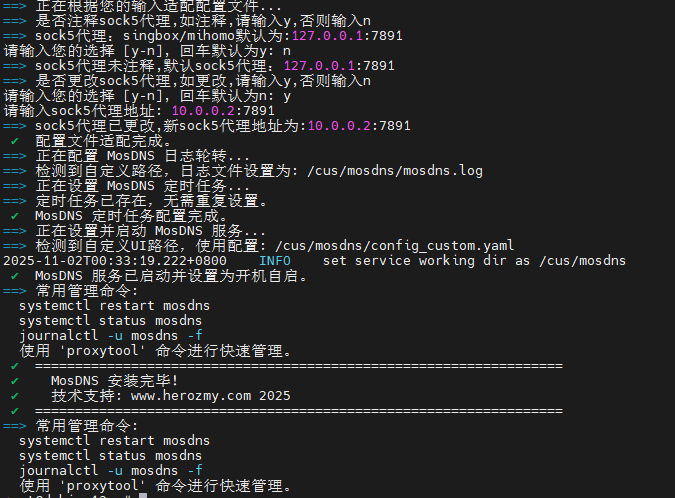
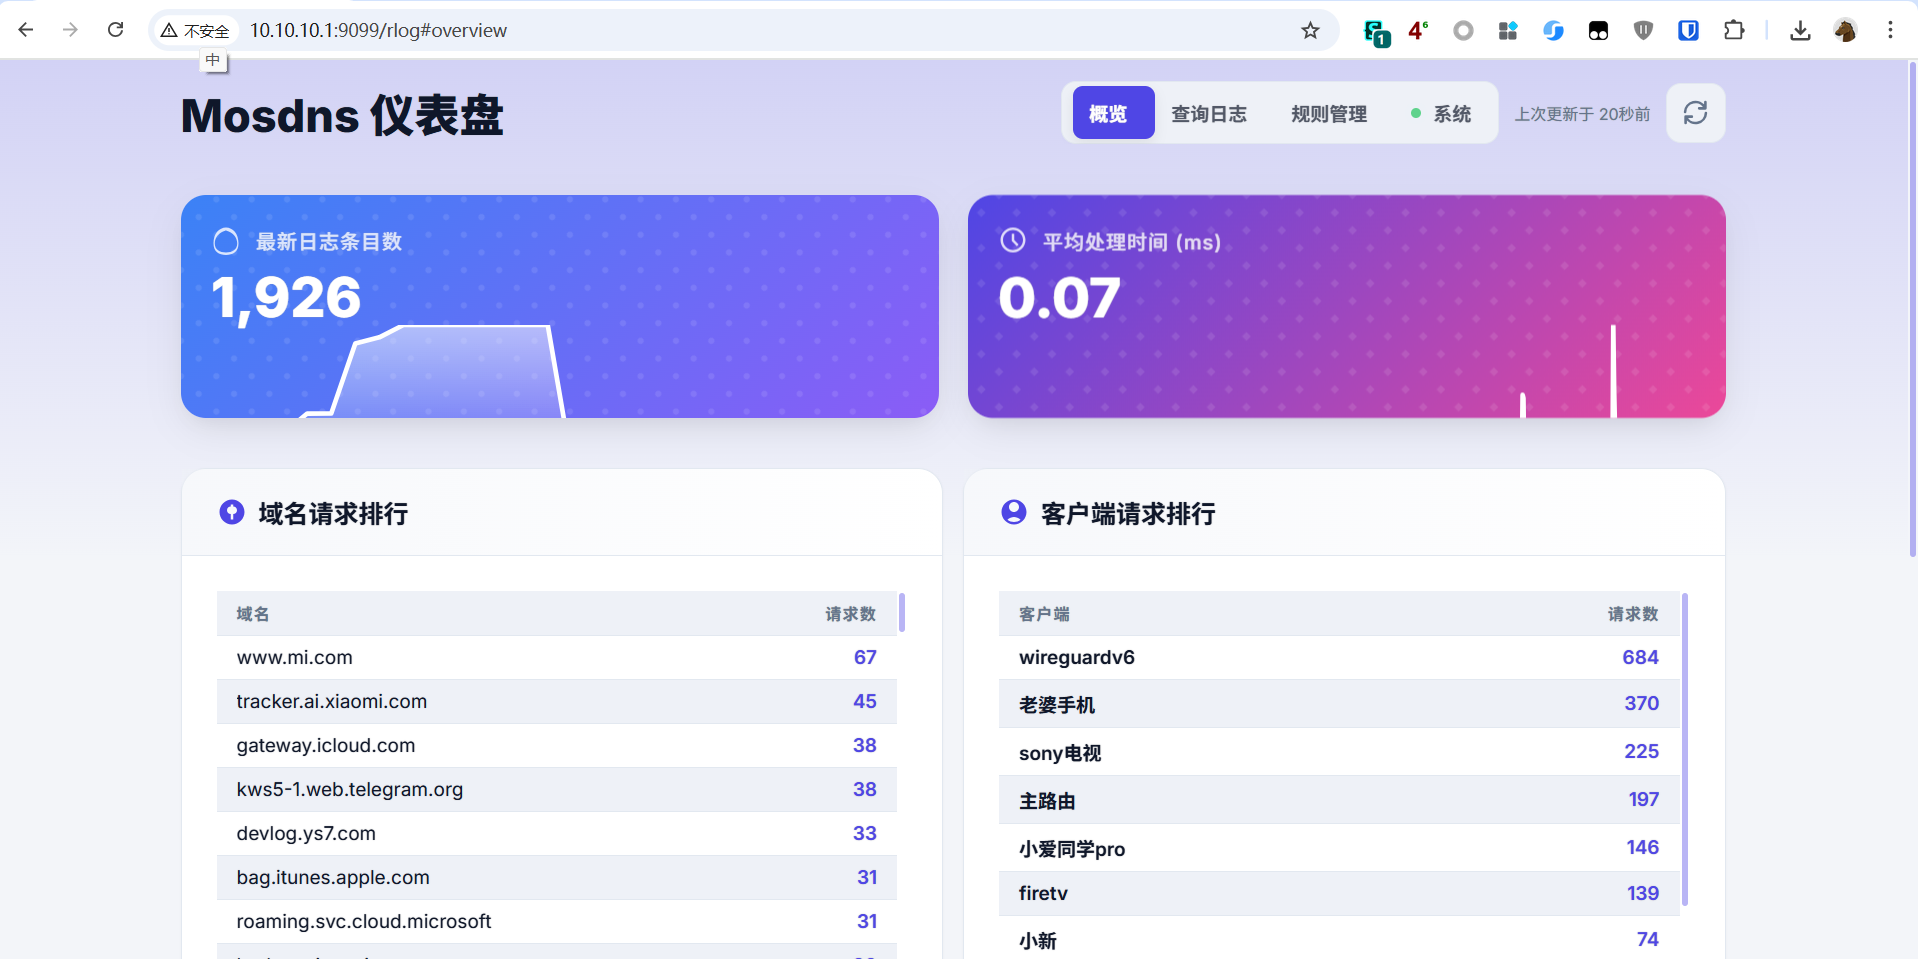
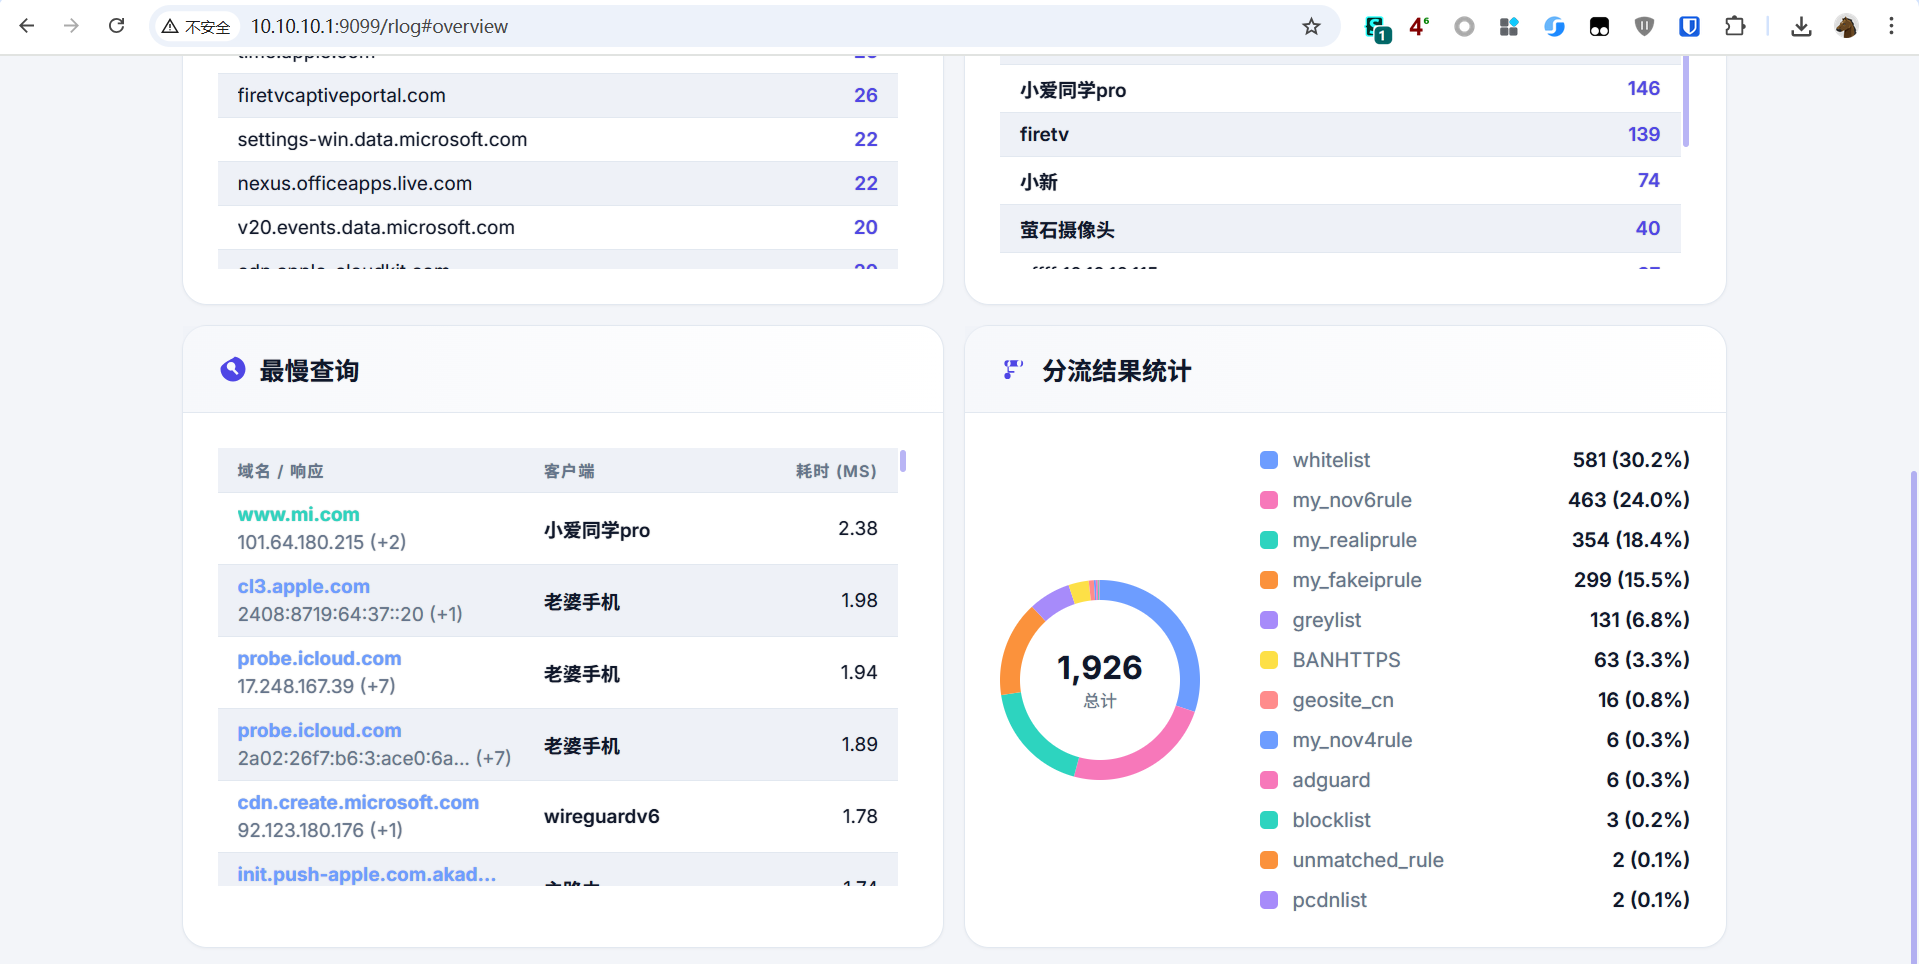
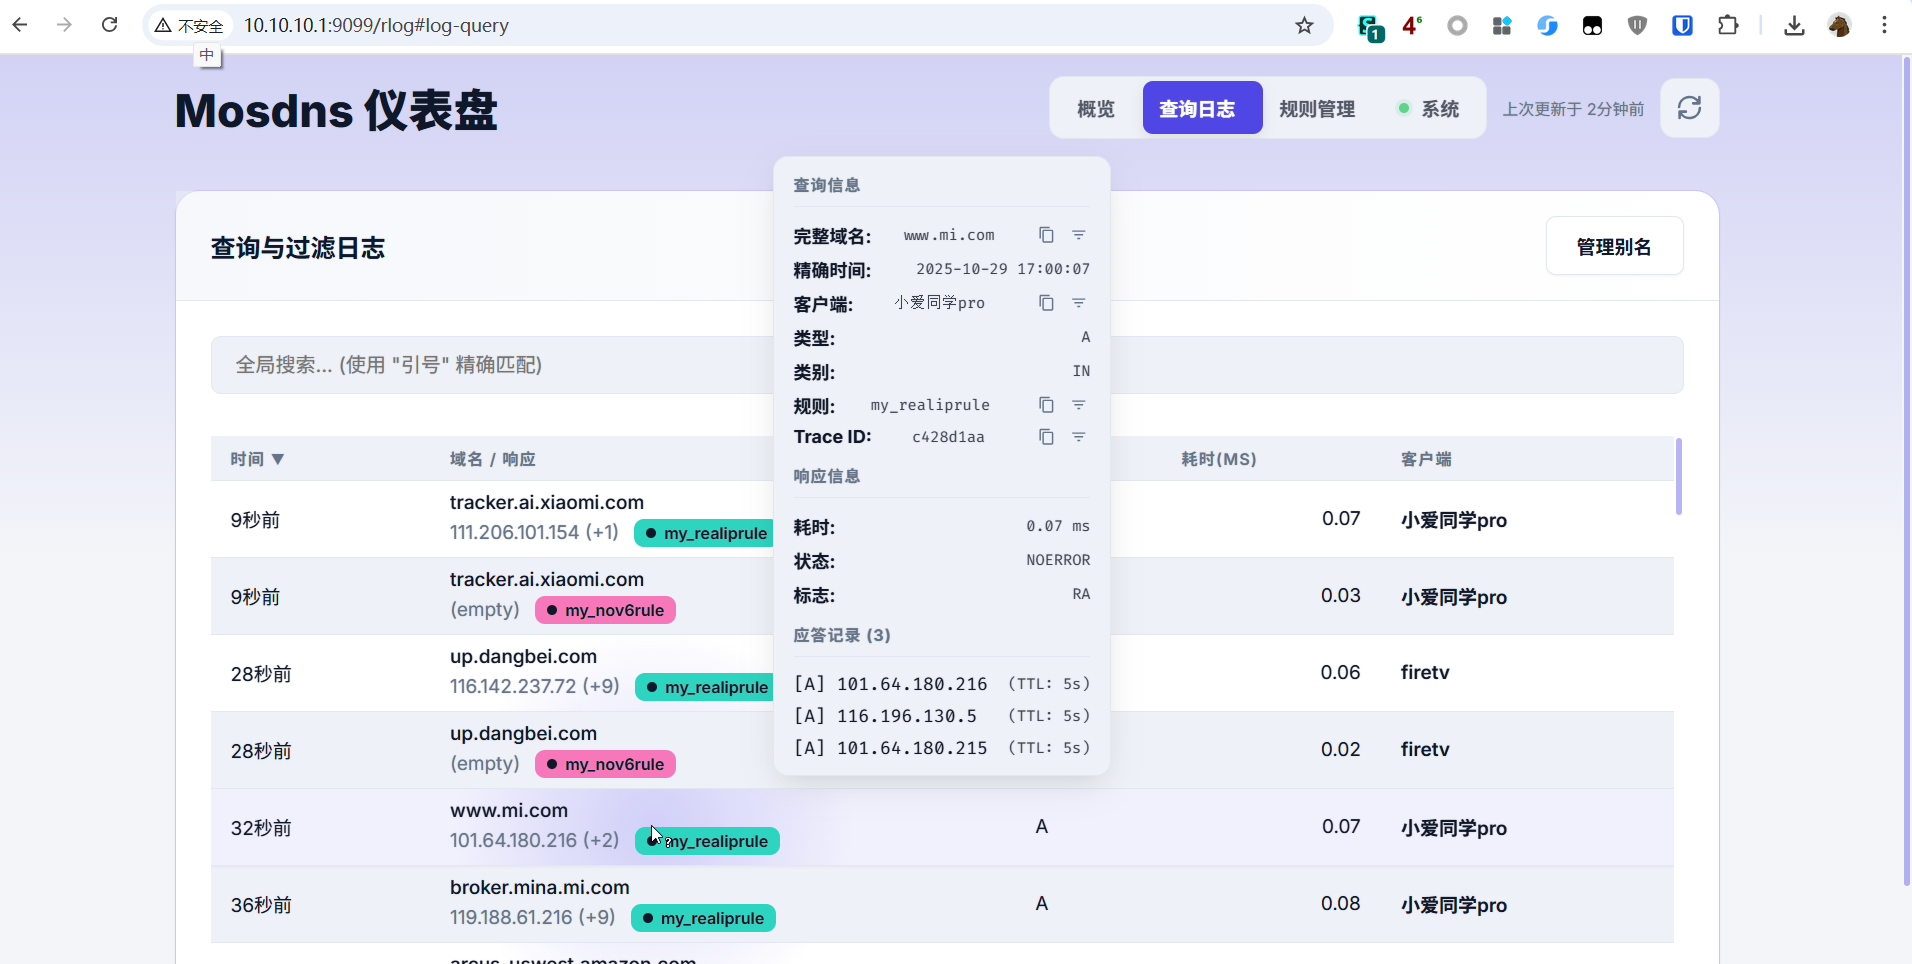
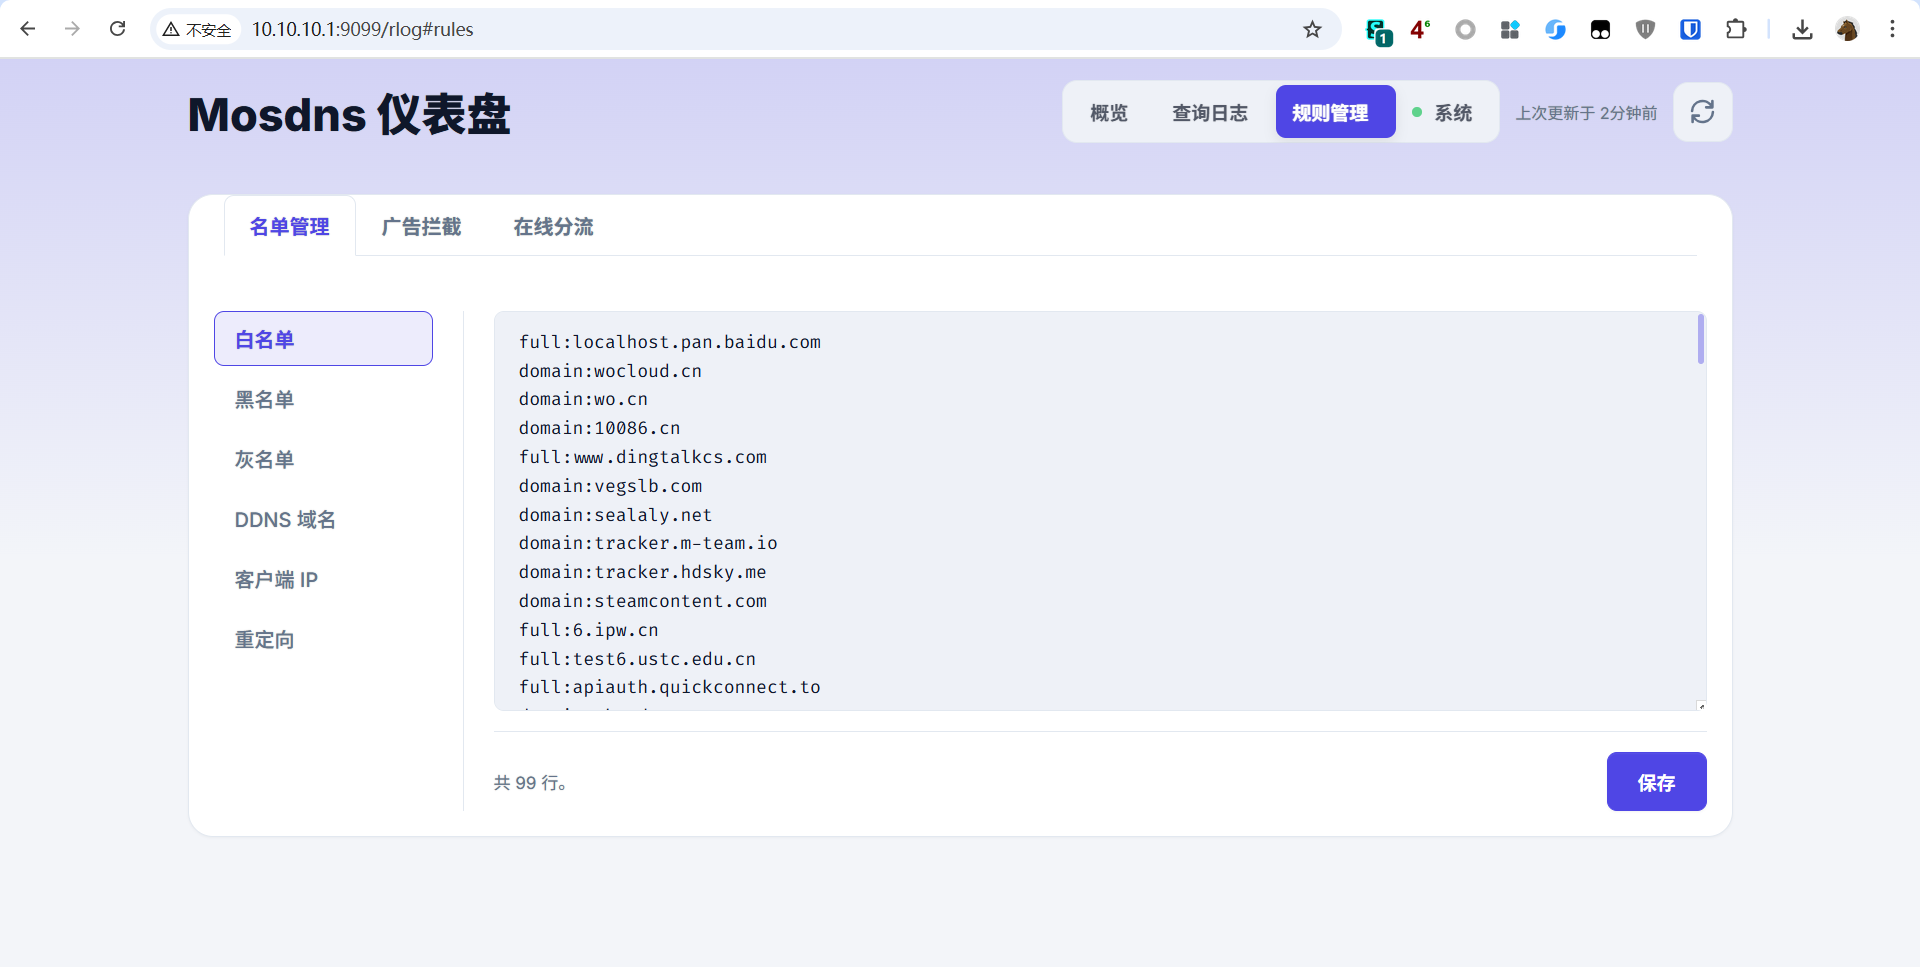
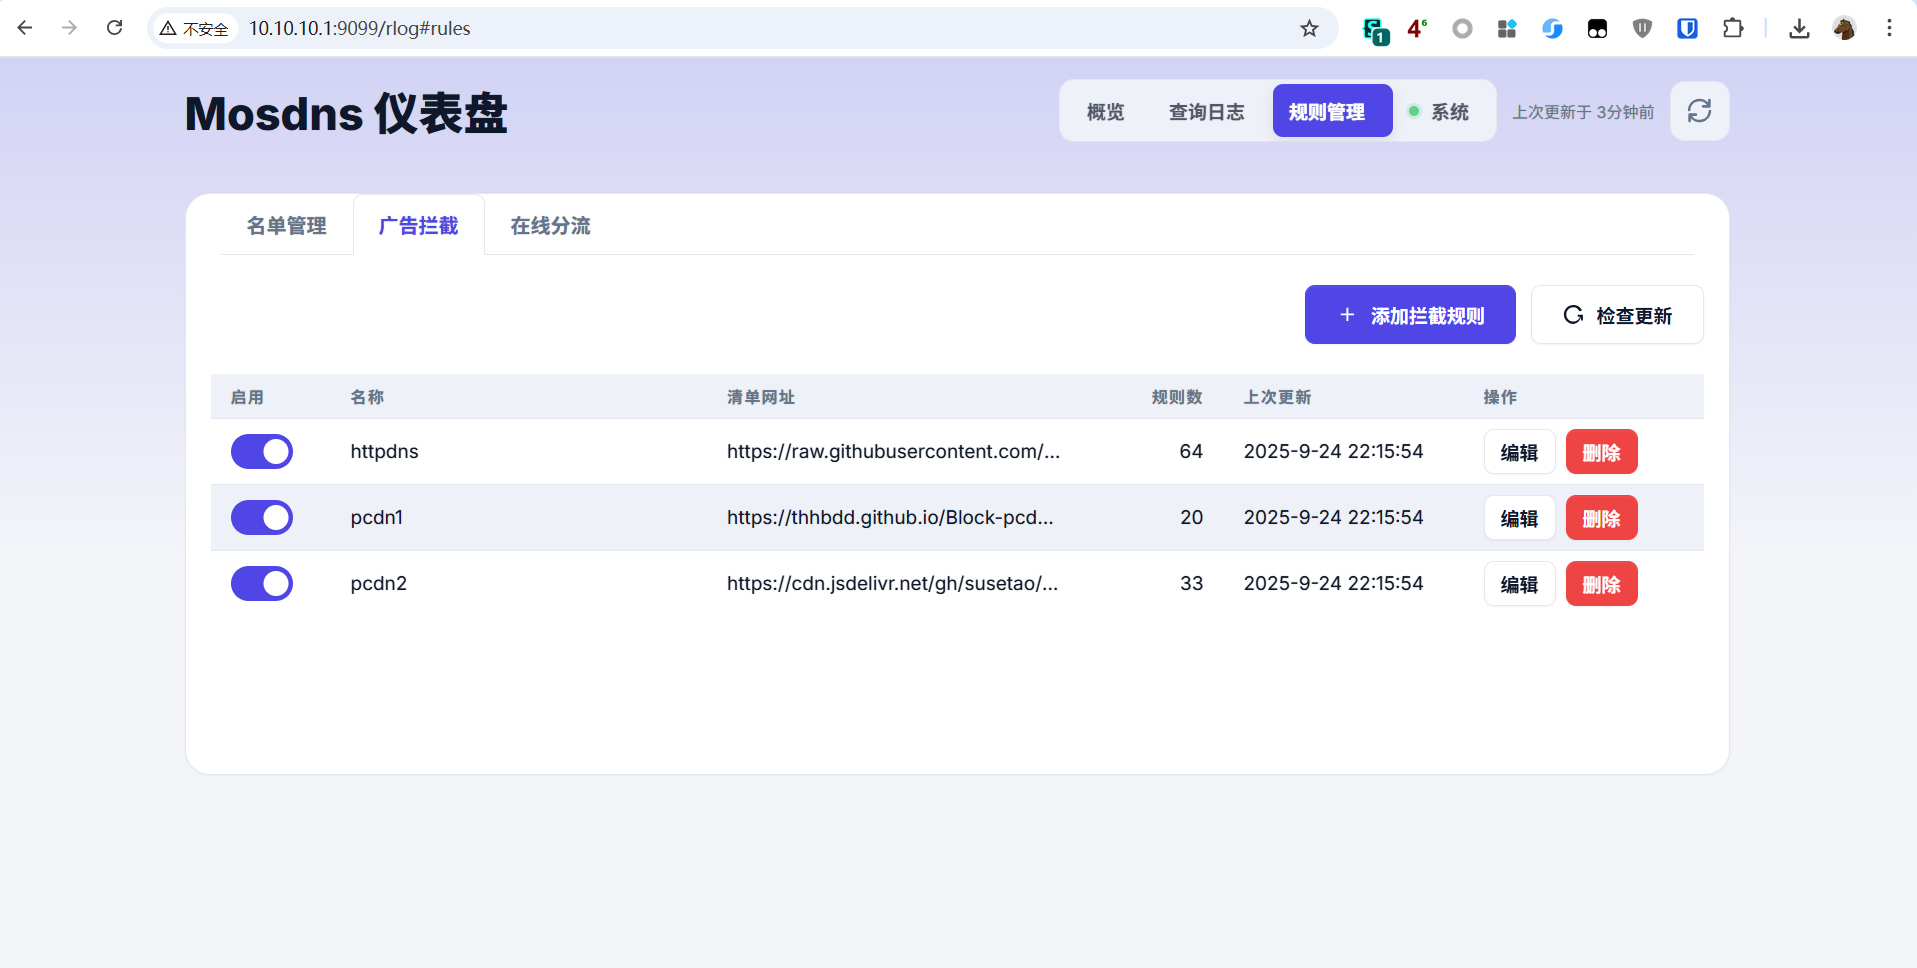
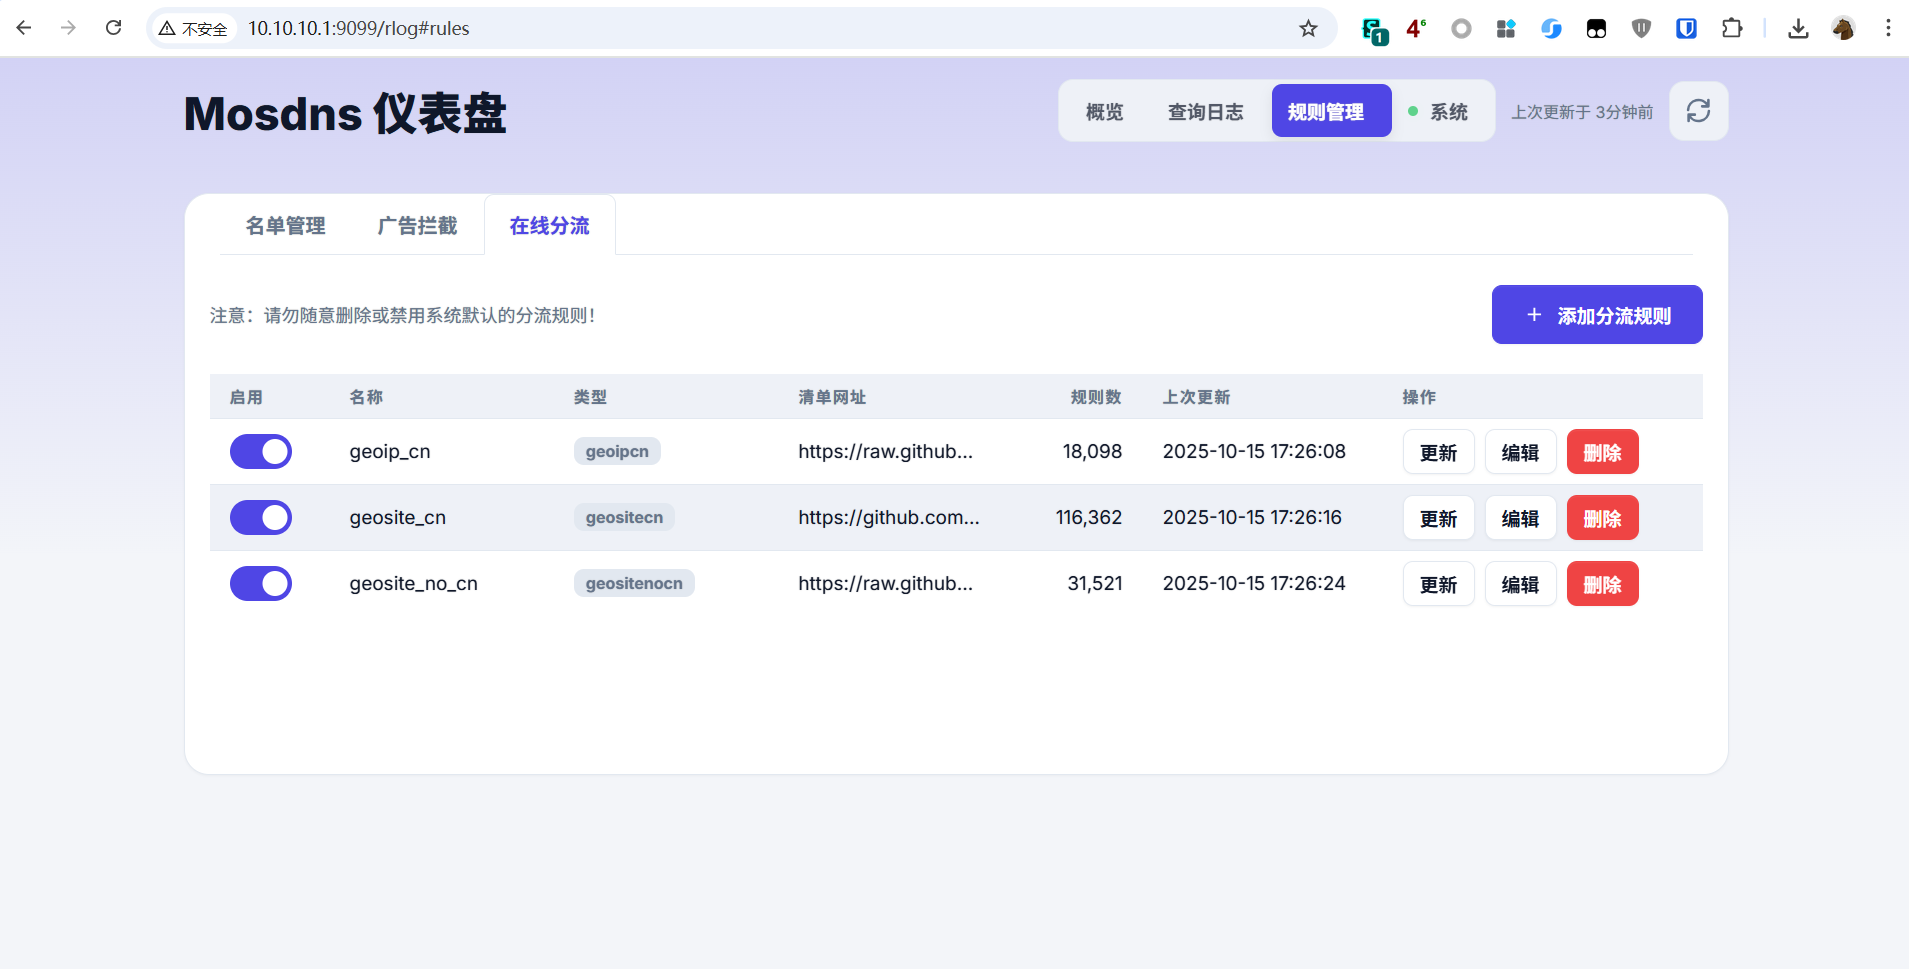
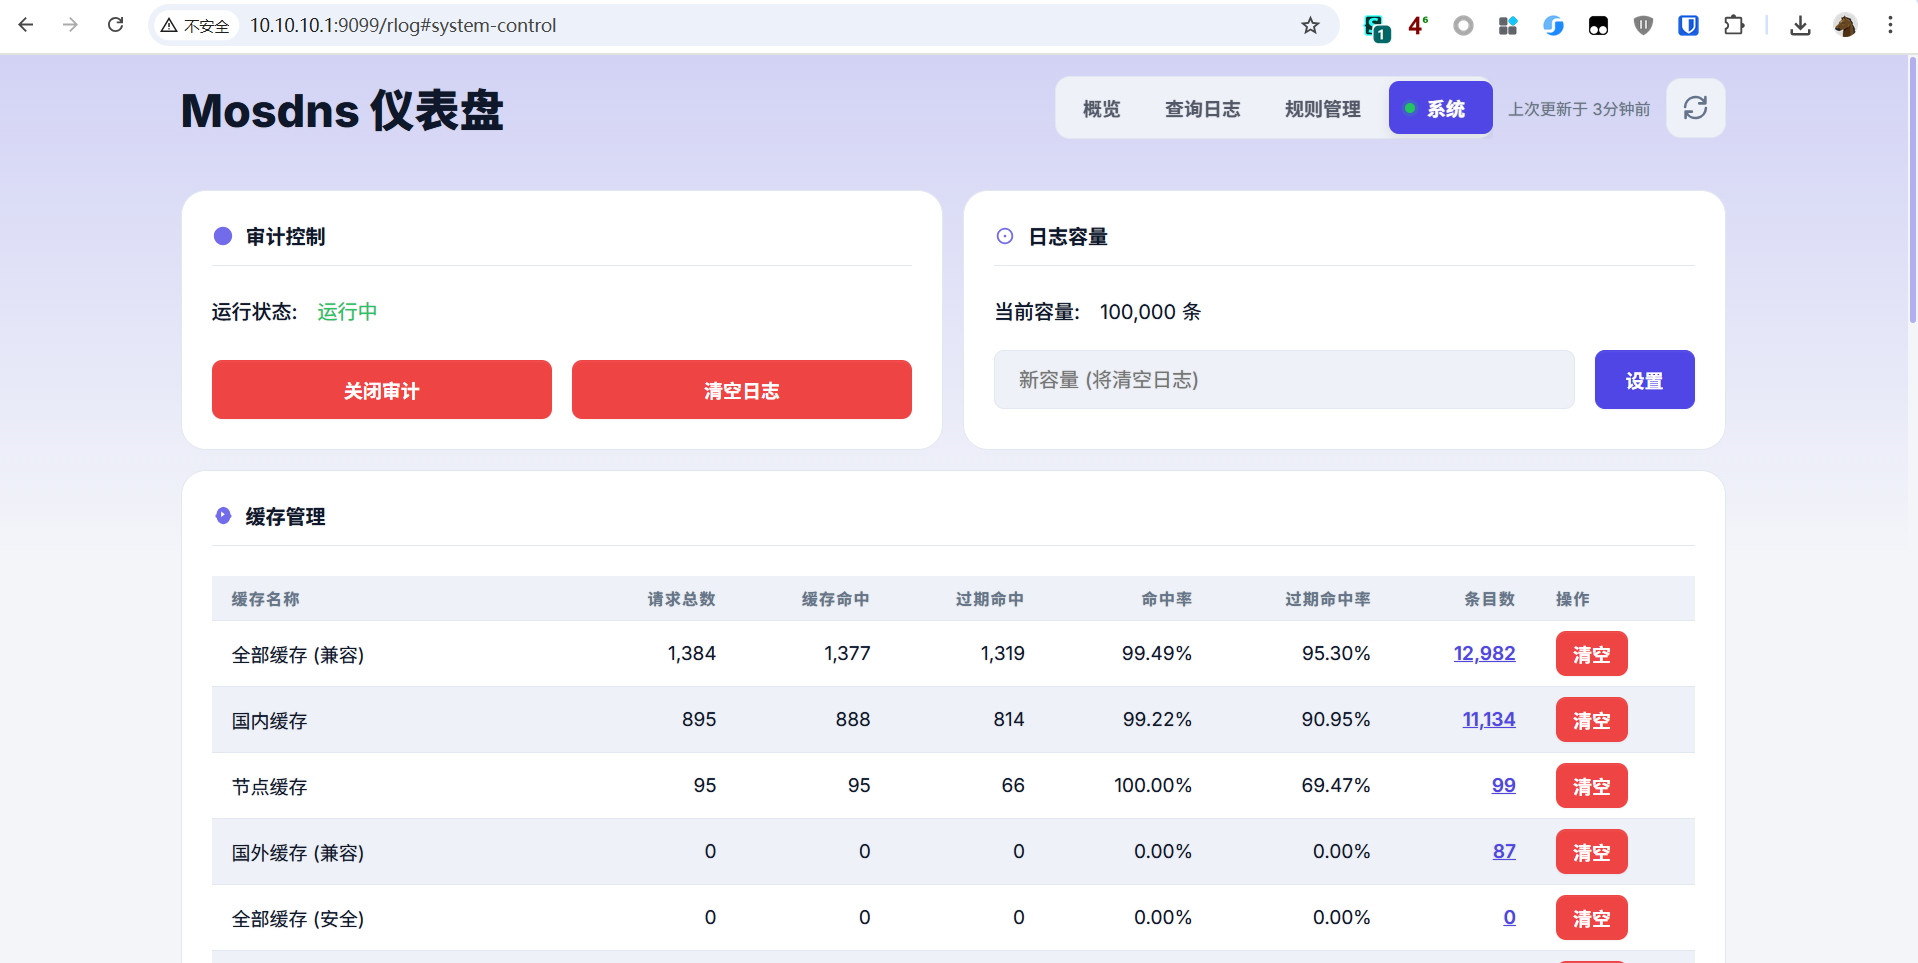
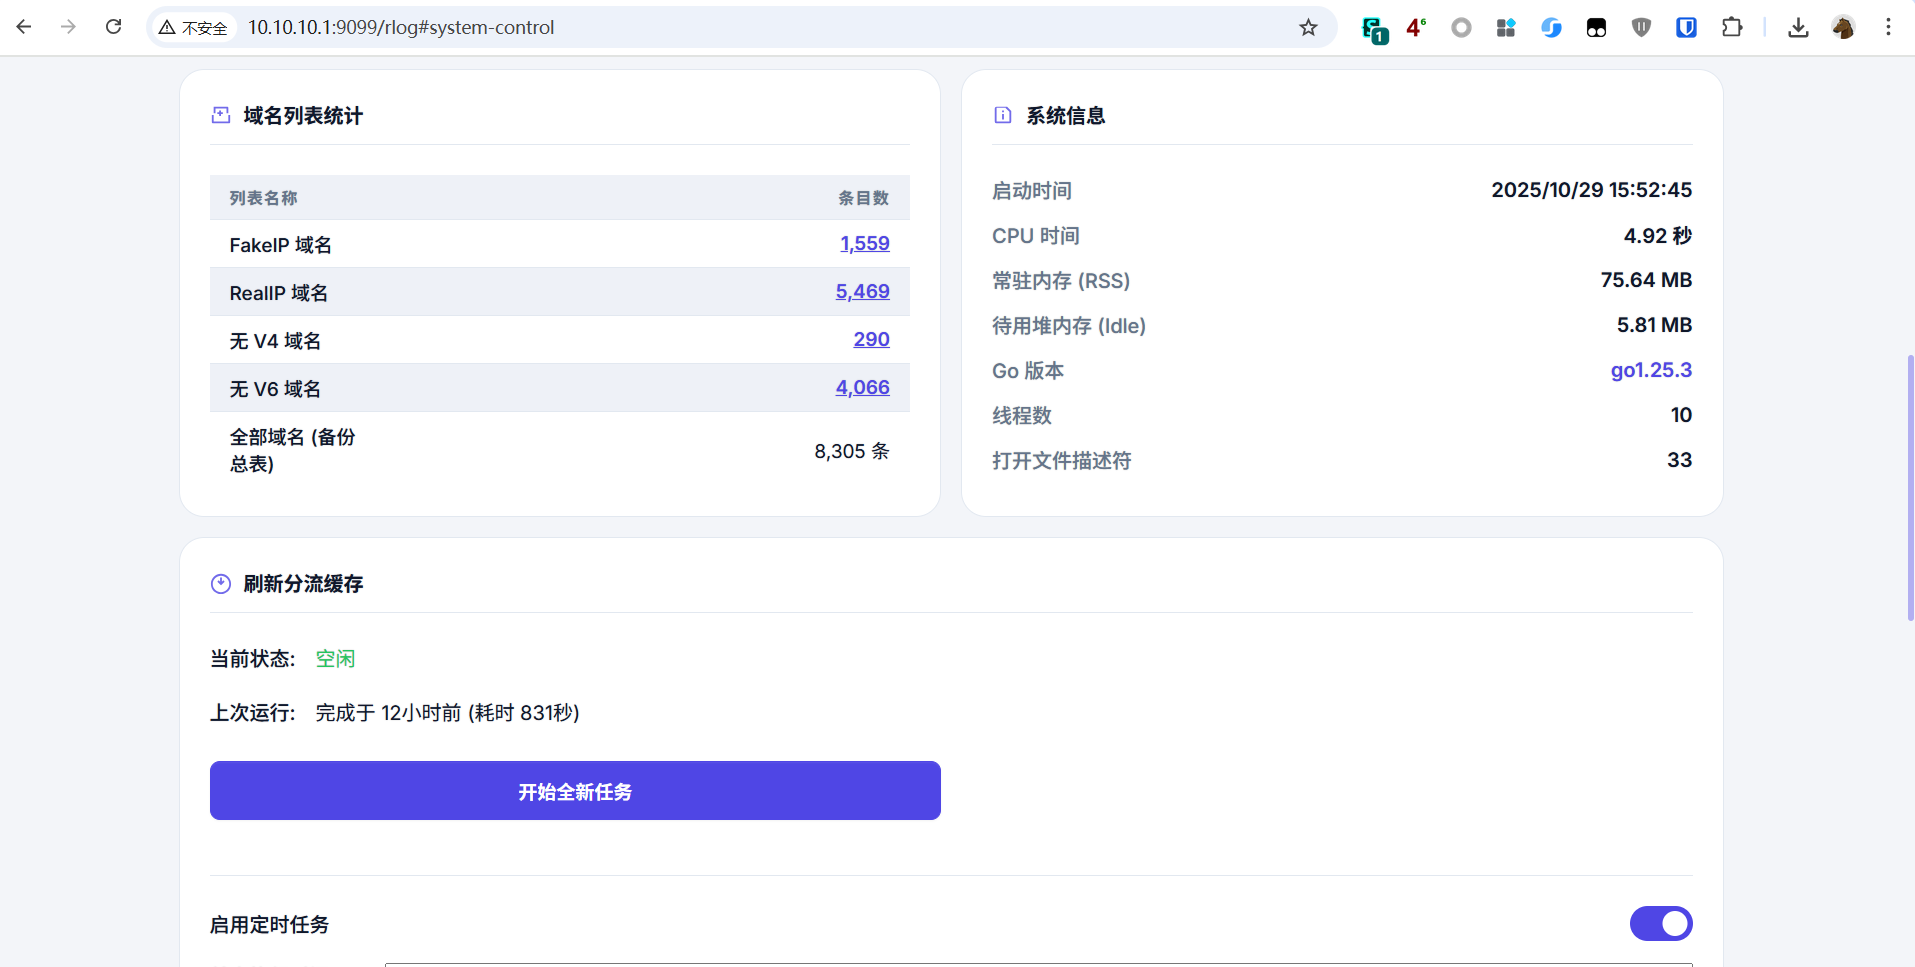
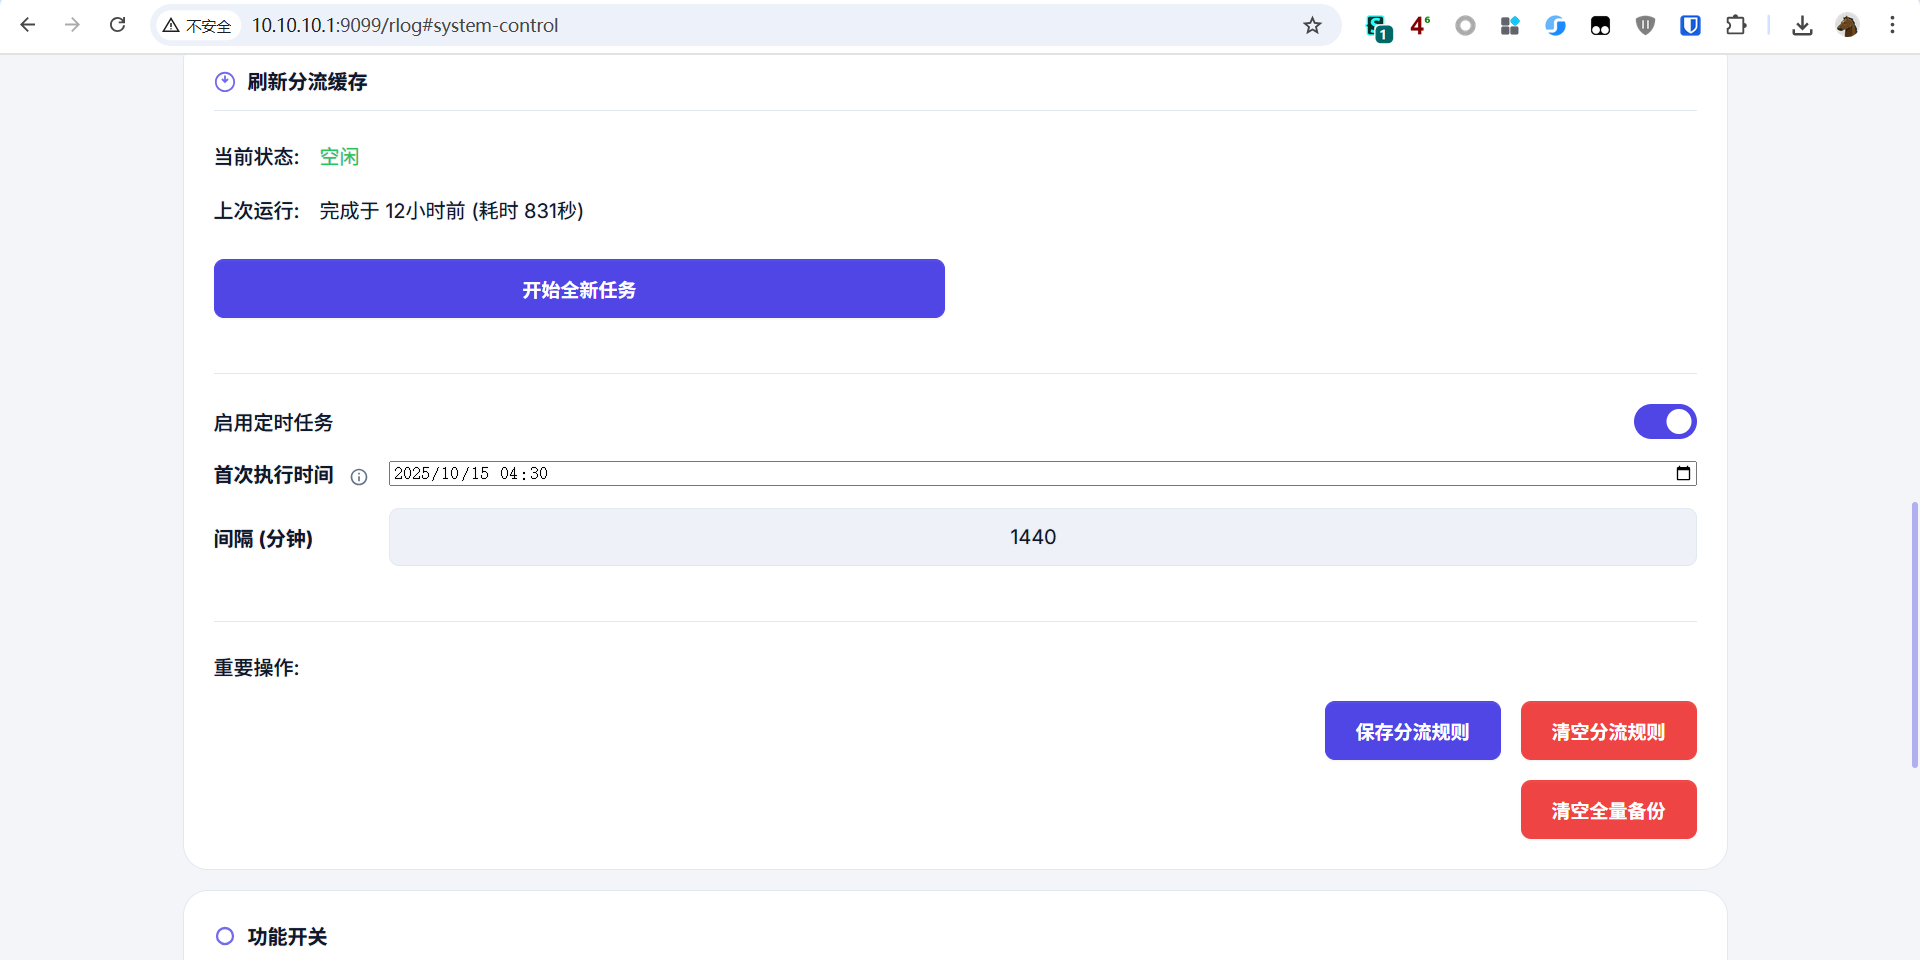
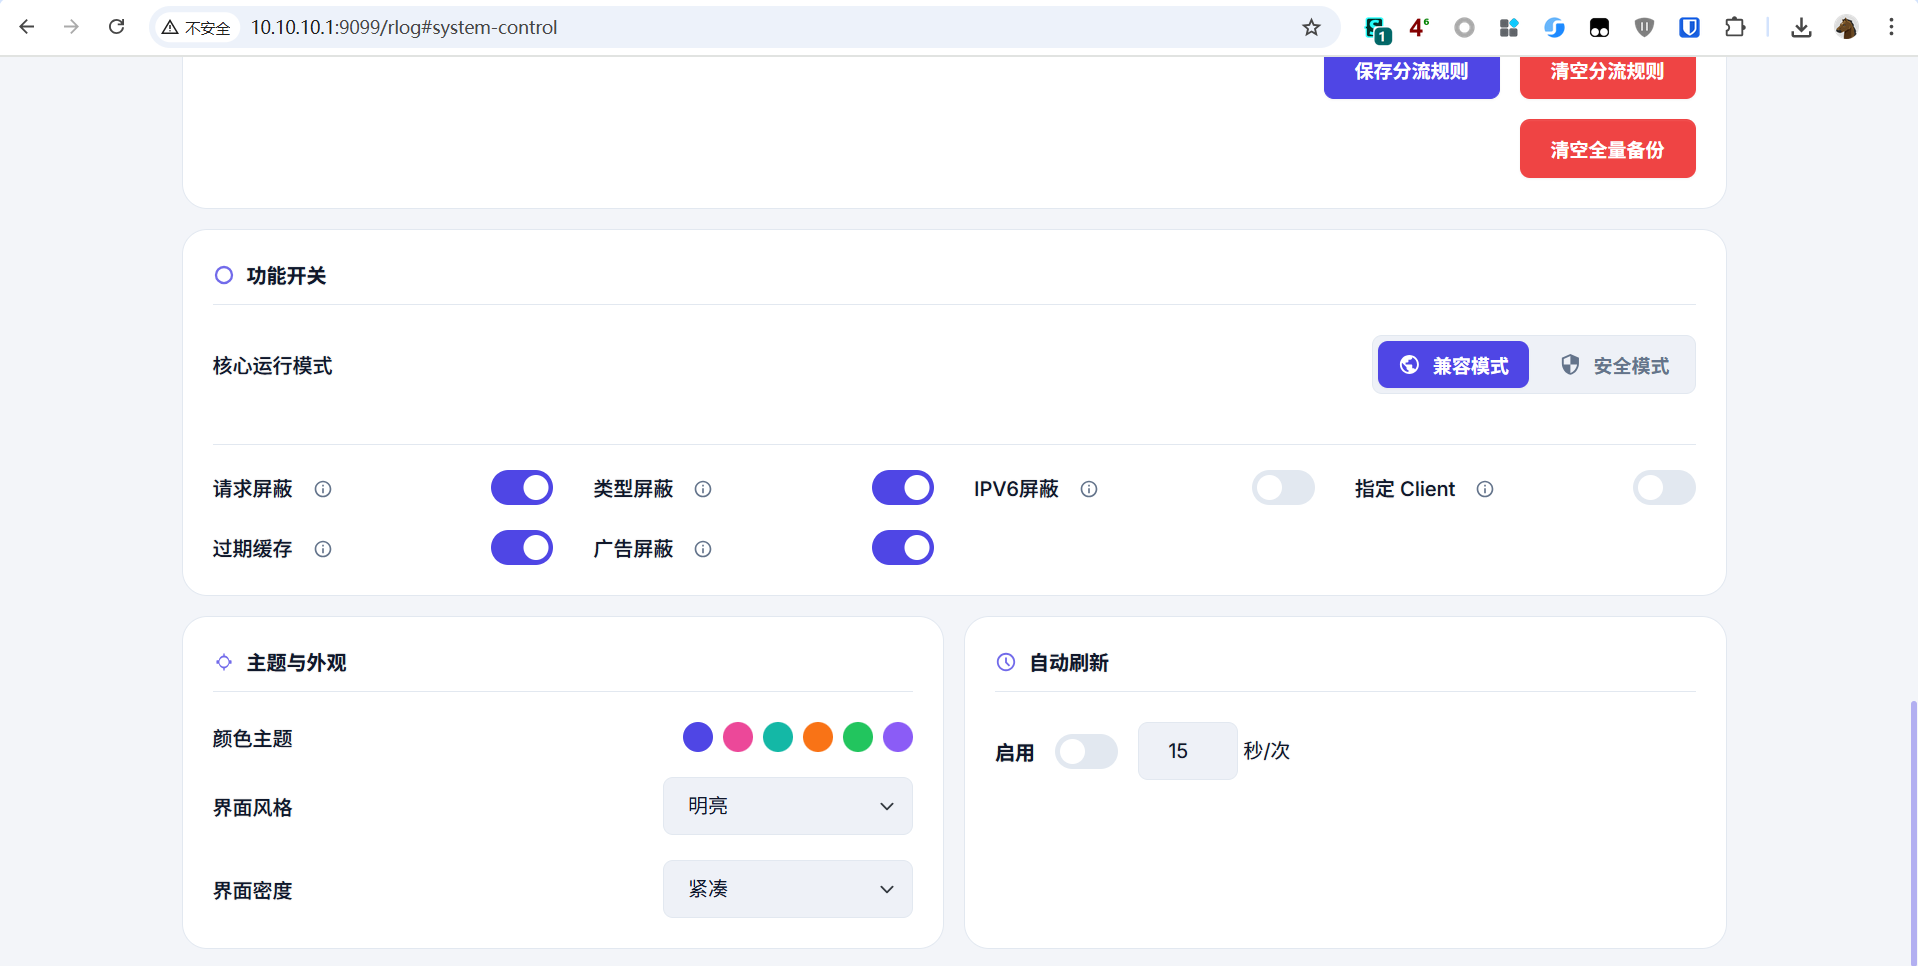
步骤 5: 安装完成后,UI 地址为 http://10.0.0.3:9099/rlog
MosDNS UI 界面预览
更多 mosdns 和 UI 设置问题:加入 TG 群咨询(PH、herozmy 等大佬在群里)
点击加入 TG 群脚本来源:herozmy 大佬的 StoreHouse,请点赞支持
(二)手动挡用户(进阶学习)
1. 手动命令行部署 sing-box 官方核心
使用 sing-box 裸核需要 4 个步骤:
- 准备 sing-box 二进制程序
- 准备配置文件
- 创建 systemd 服务文件
- 安装并配置 nftables
建议使用 Debian 或 Ubuntu 虚拟机,本文以 Debian 13 为例(1 核/1G 内存/8G 硬盘)
配置文件、systemd 服务文件、nftables 配置文件来自 @Ron 大佬
(1)安装 sing-box 程序
步骤 1: 更新系统
1 | apt update |
步骤 2: 修改时区
1 | dpkg-reconfigure tzdata |
步骤 3: 安装 sing-box(3 种方式,新手建议选 1 或 2)
方式 1: 下载预编译版本(虚拟机需科学,x86 架构,默认 1.12.12)
1 | wget https://github.com/SagerNet/sing-box/releases/download/v1.12.12/sing-box-1.12.12-linux-amd64.tar.gz && \ |
方式 2: 手动下载
- 访问 sing-box releases
- 下载对应架构的版本
- 解压后将
sing-box上传到/usr/local/bin/ - 赋予执行权限:
1 | chmod +x /usr/local/bin/sing-box |
方式 3: 编译安装最新版
1 | apt -y install curl git build-essential libssl-dev libevent-dev zlib1g-dev gcc-mingw-w64 |
如需特定版本,将 latest 改为版本号(如 v1.12.0):
1 | go install -v -tags with_quic,with_grpc,with_dhcp,with_wireguard,with_utls,with_clash_api,with_gvisor,with_v2ray_api,with_lwip,with_acme github.com/sagernet/sing-box/cmd/sing-box@v1.12.0 |
(2)准备配置文件
步骤 1: 创建配置目录
1 | mkdir -p /usr/local/etc/sing-box/conf |
步骤 2: 下载配置模板
访问 GitHub 仓库 下载 6 个文件到 /usr/local/etc/sing-box/conf/
或使用命令下载:
1 | cd /usr/local/etc/sing-box/conf |
步骤 3: 下载 ruleset 文件
1 | cd /usr/local/etc/sing-box |
步骤 4: 修改配置文件
仅需修改 /usr/local/etc/sing-box/conf/04_outbound.json,添加节点信息。
注意:
- Proxy 分组名称不要修改
- 确保节点正常,否则无法下载 UI
- 修改
GLOBAL策略组顺序可调整 UI 显示顺序
步骤 5: 测试配置
1 | /usr/local/bin/sing-box run -C /usr/local/etc/sing-box/conf/ |
无报错则按 Ctrl+C 取消,继续下一步。
(3)创建 sing-box 启动服务
1 | cd /etc/systemd/system/ |
检查运行状态:
1 | systemctl status sing-box |
显示绿色 active (running) 表示正常运行。
(4)安装并配置 nftables
步骤 1: 安装 nftables
1 | apt install nftables -y |
步骤 2: 下载配置文件
1 | cd /etc |
步骤 3: 修改配置
编辑 /etc/nftables.conf:
- 将
10.0.0.0/8替换为自己的内网 IP 段 - 如 fakeip 段不是
28.0.0.0/8和f2b0::/18,自行搜索替换
步骤 4: 启用 nftables
1 | nft flush ruleset |
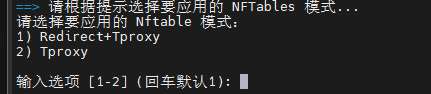
默认 TCP 使用 redirect,UDP 使用 tproxy。
切换脚本: @Ron 大佬写的 nftables 规则切换脚本
- 选项 1:tcp-redirect、udp-tproxy
- 选项 2:tcp/udp 都用 tproxy
使用前需修改脚本中的内网 IP 段和 fakeIP 段。
至此,sing-box 安装完毕。
2. 手动部署 PH 魔改版 mosdns
参考 PH 老师的项目主页 中的”离线全新安装”部分。
配置 systemd 开机自启(Debian/Ubuntu):
步骤 1: 下载 service 文件
1 | curl -o /etc/systemd/system/mosdns.service https://raw.githubusercontent.com/jasonxtt/file/refs/heads/main/mosdns/service/mosdns.service |
步骤 2: 重新加载 systemd 配置
1 | sudo systemctl daemon-reload |
步骤 3: 启用开机自启动
1 | sudo systemctl enable mosdns.service |
有使用问题欢迎加入 TG 群 折腾日记 交流